Why Firmware Updates Are Your FPV Drone’s Best Friend
Think of your FPV drone as a high-performance sports car. Just like a race car needs regular tune-ups to stay at peak performance, your drone needs firmware updates. These updates are the secret sauce that keeps your drone flying smoothly, safely, and with the latest features.
Firmware updates can fix bugs, improve flight stability, enhance camera performance, and even add new flight modes. They’re essential for keeping your drone competitive, whether you’re racing through the skies above the Grand Canyon or capturing stunning aerial footage of the Golden Gate Bridge.
Before You Begin: Prepping for a Smooth Update
Before you dive into the update process, take a moment to prepare. First, ensure your drone’s battery is fully charged. You don’t want your drone to power off mid-update, which could cause serious issues.
Next, download the latest firmware from your drone manufacturer’s website. Always use the official source to avoid malware or incompatible files. Check the firmware version currently installed on your drone to confirm you’re updating to a newer version.
Finally, find a quiet, interference-free area to perform the update. A stable Wi-Fi connection is crucial, so avoid updating in remote areas like the deserts of Nevada or crowded spaces like Times Square.
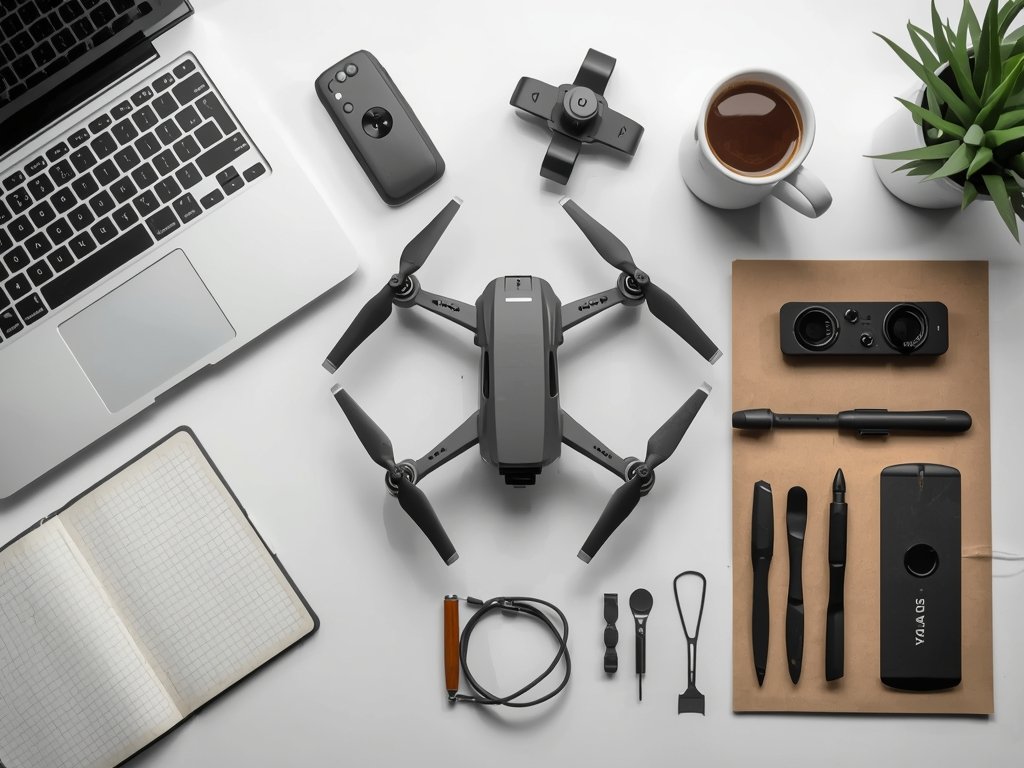
Gather Your Tools
- Computer or Laptop: Ensure it’s updated and has enough storage space.
- USB Cable: Use the original cable that came with your drone for a stable connection.
- Backup Battery: Just in case, have an extra battery charged and ready.
Step-by-Step Guide: Updating Your FPV Drone Firmware
Now that you’re prepared, let’s walk through the update process step by step. Each manufacturer has slightly different procedures, but the general steps are similar. Always refer to your drone’s user manual for specific instructions.
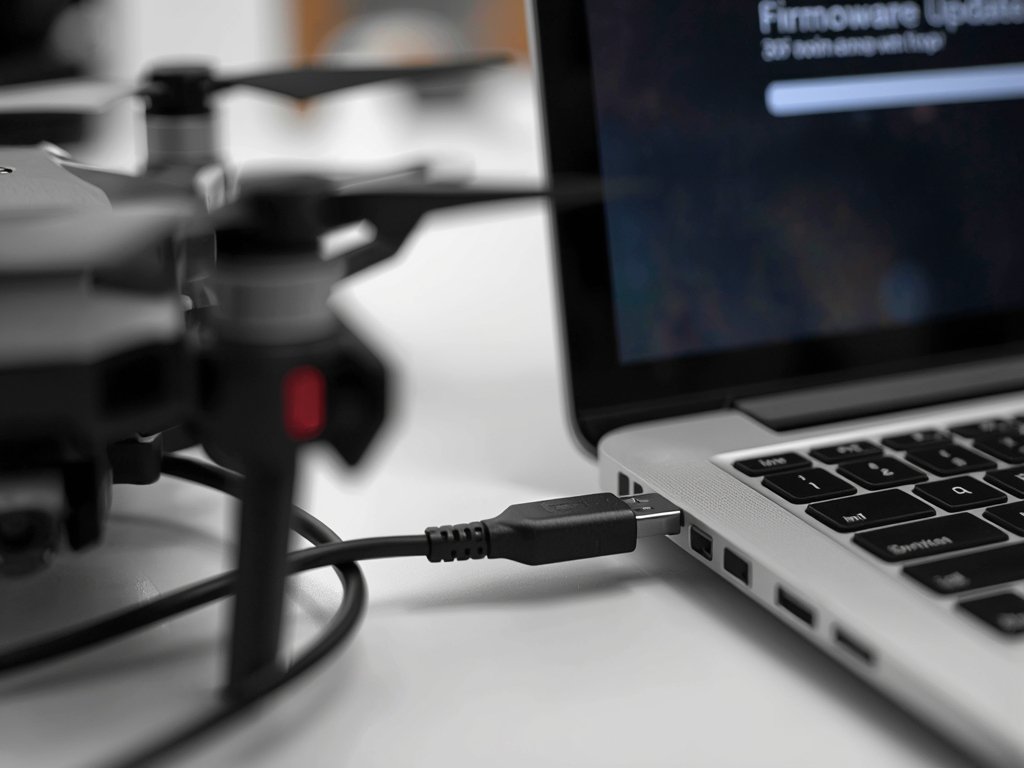
Step 1: Connect Your Drone
Power on your drone and connect it to your computer using the USB cable. Most drones will enter a specific mode when connected, often indicated by a blinking LED light.
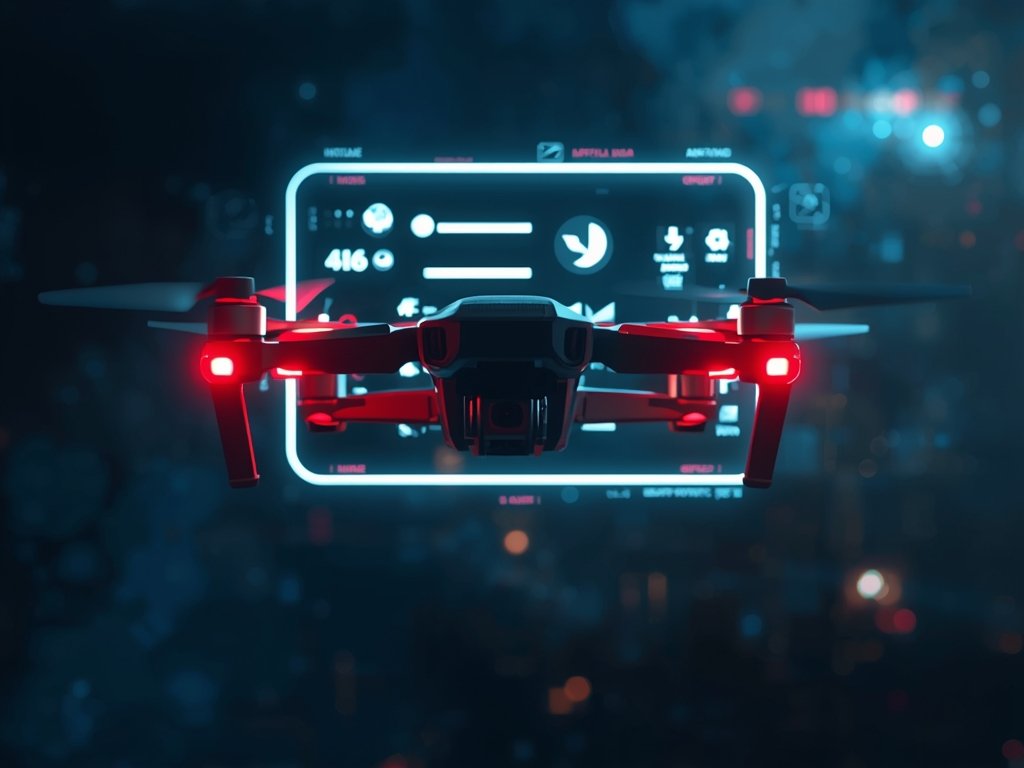
Step 2: Launch the Update Software
Open the firmware update software provided by your drone manufacturer. This software usually detects your drone automatically. If not, manually select your drone model from the list.
Step 3: Start the Update
Click the “Update” button to begin the process. The software will upload the new firmware to your drone. This can take several minutes, so be patient and avoid interrupting the process.
Step 4: Verify the Update
Once the update is complete, the software will usually prompt you to verify the installation. Follow the on-screen instructions to confirm the firmware has been successfully updated.
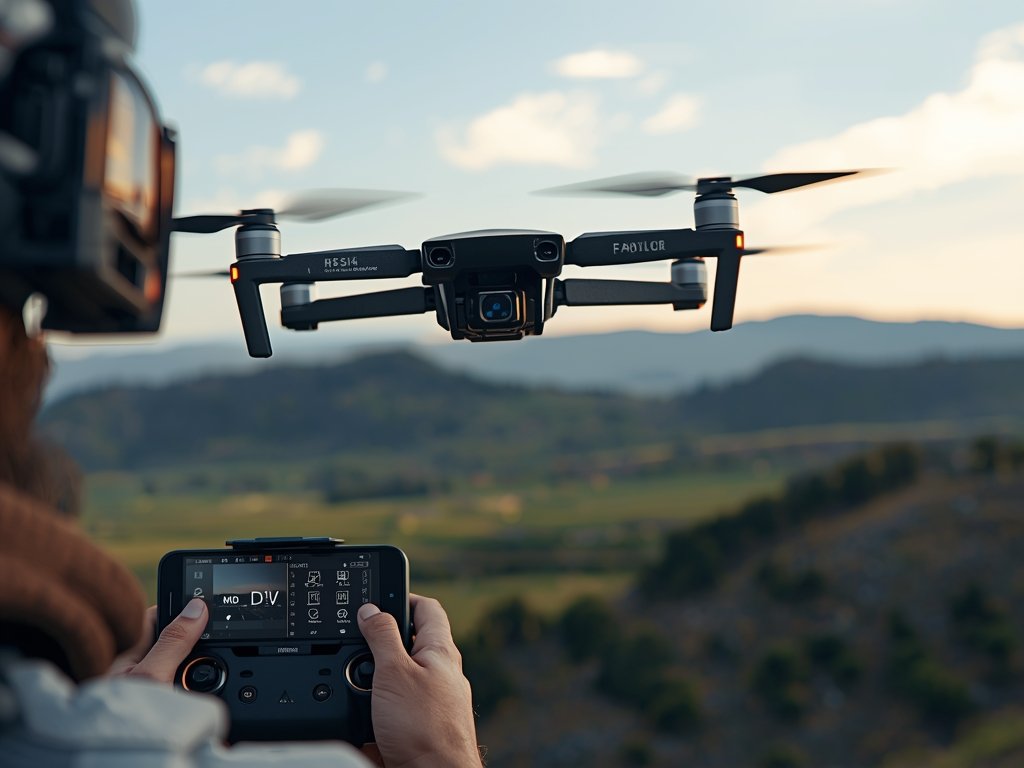
Step 5: Test Your Drone
After updating, perform a quick test flight in an open, safe area. Check for any unusual behavior, such as erratic movements or camera issues. If everything looks good, you’re ready to hit the skies!
Troubleshooting Common Update Issues

Even with careful preparation, firmware updates can sometimes go wrong. Don’t panic—most issues have simple solutions. Here are some common problems and how to fix them.
Issue 1: Update Fails to Start
If the update software doesn’t recognize your drone, check the USB connection. Try a different cable or port. Ensure your drone is powered on and in the correct mode for updates.
Issue 2: Update Interrupted
If the update is interrupted, reconnect your drone and restart the process. If the issue persists, contact your drone manufacturer’s support team for assistance.
Issue 3: Drone Behaves Strangely After Update
If your drone exhibits unusual behavior after updating, perform a factory reset. This will revert your drone to its default settings. If the problem continues, consider downgrading to the previous firmware version.
Advanced Tips: Getting the Most Out of Your Firmware
Once your firmware is up to date, explore the advanced settings to customize your drone’s performance. Many manufacturers offer features like adjustable flight modes, camera settings, and even custom LED light patterns.
Customize Flight Modes
Experiment with different flight modes to suit your flying style. Whether you prefer aggressive racing or smooth cinematography, there’s a mode for you. Some drones even allow you to create custom modes tailored to specific scenarios.
Optimize Camera Settings
Fine-tune your camera settings for the best possible footage. Adjust resolution, frame rate, and color profiles to match your shooting conditions. For example, use a higher frame rate for fast-paced action shots or a wider color profile for vibrant landscapes.
Personalize Your Drone
Make your drone stand out with custom LED patterns. Many drones allow you to program unique light sequences. Whether you’re flying at a local meetup or a national competition, a personalized drone is sure to turn heads.
FAQ
How often should I update my FPV drone firmware?
Check for updates every 1-2 months, especially before major flights or competitions. Manufacturers often release updates to fix bugs or add new features.
Can I update my drone firmware without a computer?
Some drones support over-the-air (OTA) updates via a mobile app. However, a computer connection is generally more reliable and allows for faster updates.
What happens if I update my drone with the wrong firmware?
Using the wrong firmware can cause serious issues, including bricking your drone. Always double-check the firmware version and model compatibility before updating.
How do I know if my firmware update was successful?
The update software will usually display a success message. Additionally, you can check the firmware version in your drone’s settings menu to confirm the update.
Is it safe to fly my drone immediately after updating?
While it’s generally safe, perform a quick test flight in an open area to ensure everything is functioning correctly. This helps you identify any issues before a more critical flight.
Join Our Pilot Community
Connect with fellow drone enthusiasts, share your aerial shots, and get access to free PDF ebook guides.