Dive into the World of FPV: Your Ultimate Camera Setup Guide
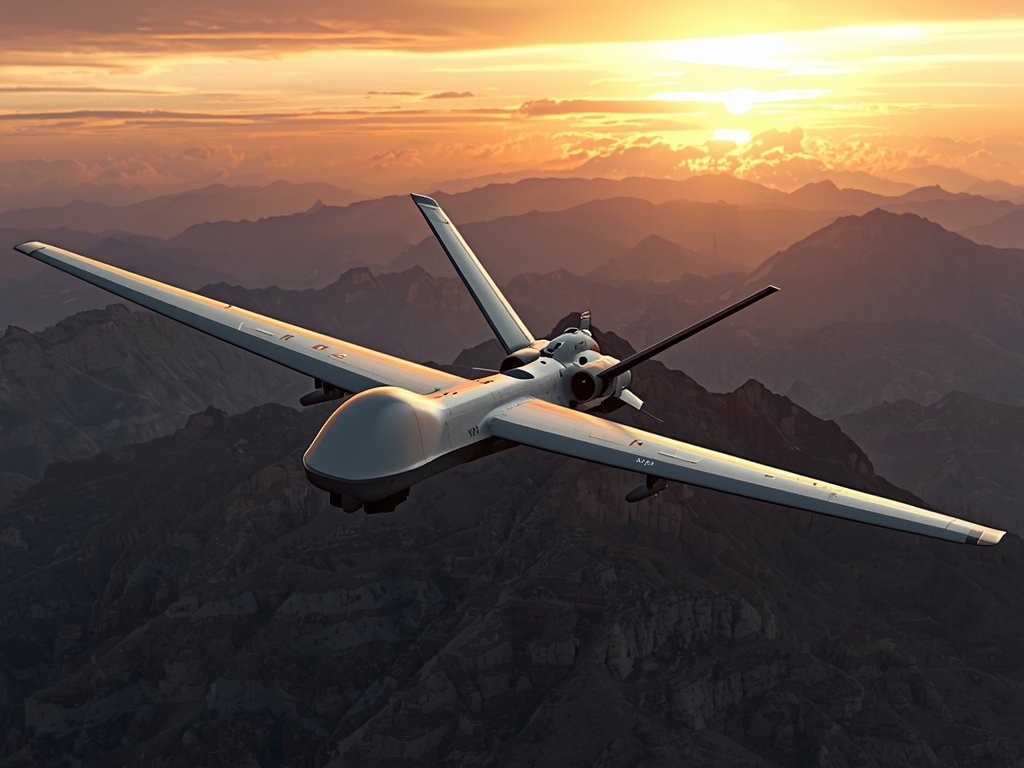
Ready to see the world from a whole new perspective? FPV (First-Person View) drone flying is more than a hobby—it’s an immersive experience that puts you in the pilot’s seat. Whether you’re racing through downtown Chicago or capturing breathtaking landscapes in the Grand Canyon, the right camera setup can make all the difference. This guide will walk you through everything you need to know to build a top-notch FPV drone camera system, tailored for enthusiasts across the United States.
Why FPV Camera Setup Matters
Your FPV camera setup isn’t just about capturing footage—it’s about enhancing your flying experience. A clear, low-latency video feed ensures you stay in control, whether you’re navigating tight spaces or racing against friends. Plus, with the right gear, you can create stunning visuals that rival professional cinematography. Think of it as the difference between a grainy home video and a Hollywood blockbuster.
Key Components of an FPV Camera System
Before diving in, let’s break down the essentials:
- Camera: The heart of your setup, capturing the visuals.
- Video Transmitter (VTx): Sends the live feed to your goggles or monitor.
- Antennas: Ensures a stable and clear signal, even at long distances.
- Goggles or Monitor: Your window into the drone’s world.
Choosing the Right FPV Camera
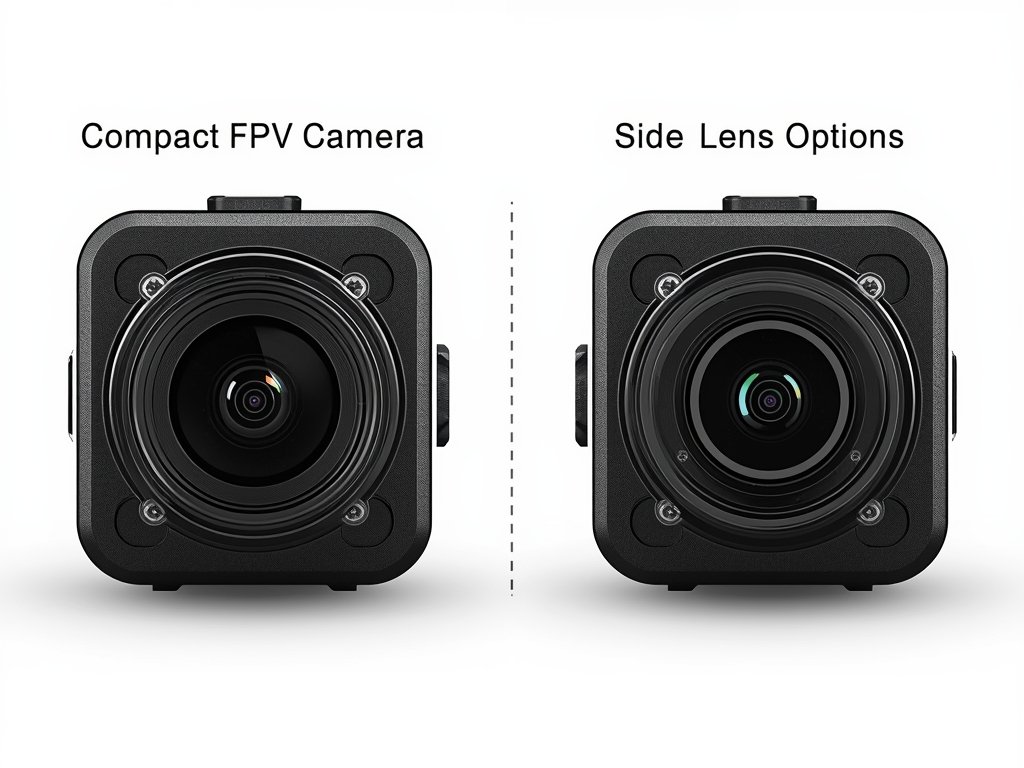
The camera is the cornerstone of your FPV setup. With so many options available, it’s easy to feel overwhelmed. Here’s what to consider:
Resolution and Sensor Size
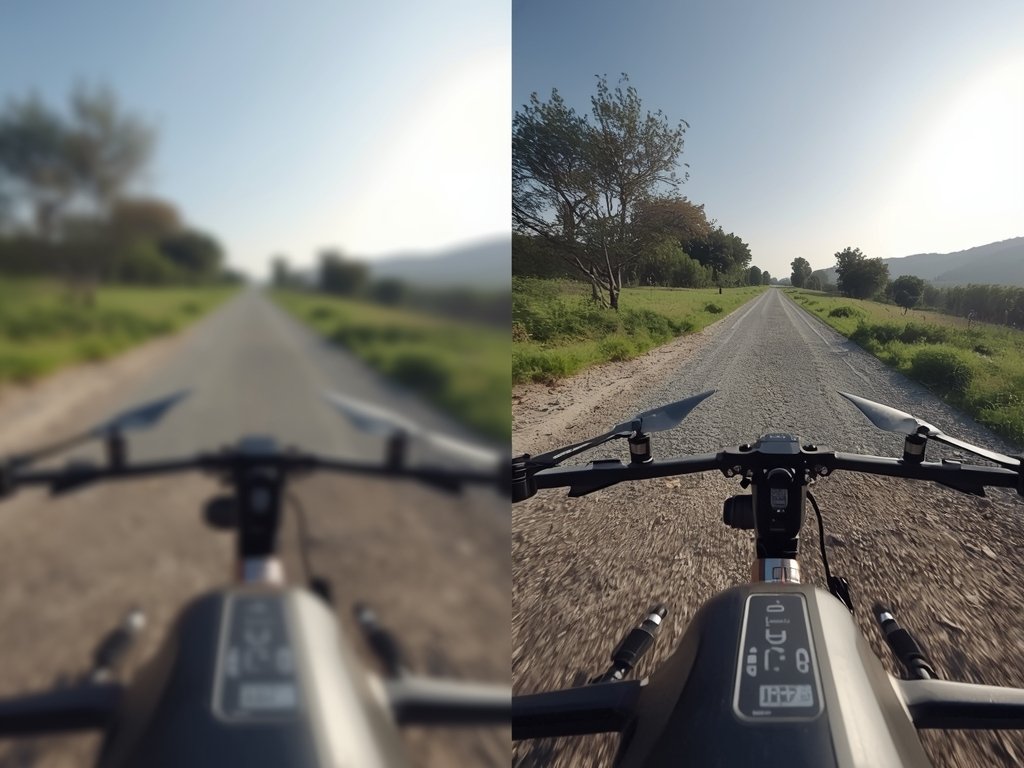
Higher resolution means sharper images, but it’s not always necessary. For most FPV pilots, a 720p or 1080p camera strikes the perfect balance between clarity and performance. Larger sensors (like 1/2” or 1/3”) perform better in low light, ideal for those golden hour flights over the California coast.
Field of View (FOV)
A wider FOV gives you a broader perspective, which is great for racing and freestyle flying. However, too wide a lens can cause distortion. Aim for a FOV between 120° and 160° for a natural, immersive experience.
Latency and Frame Rate
Low latency is crucial for real-time control. Look for cameras with minimal delay, typically under 20ms. A frame rate of 60fps or higher ensures smooth, fluid video, perfect for fast-paced flights through New York’s Central Park.
Mastering Video Transmission
A strong video transmission system is key to an uninterrupted flying experience. Here’s how to get it right:
Selecting the Right VTx
Your video transmitter should match your flying style. For short-range flights, a 25mW VTx is sufficient. If you’re planning long-range adventures across the Arizona desert, consider a 600mW or higher model. Always comply with local FCC regulations to avoid legal headaches.
Antenna Placement and Polarization
Proper antenna placement can make or break your signal. Use omnidirectional antennas for all-around coverage or directional antennas for long-range flights. Ensure your antennas are polarized correctly—LHCP (Left-Hand Circular Polarization) is the standard in the U.S.
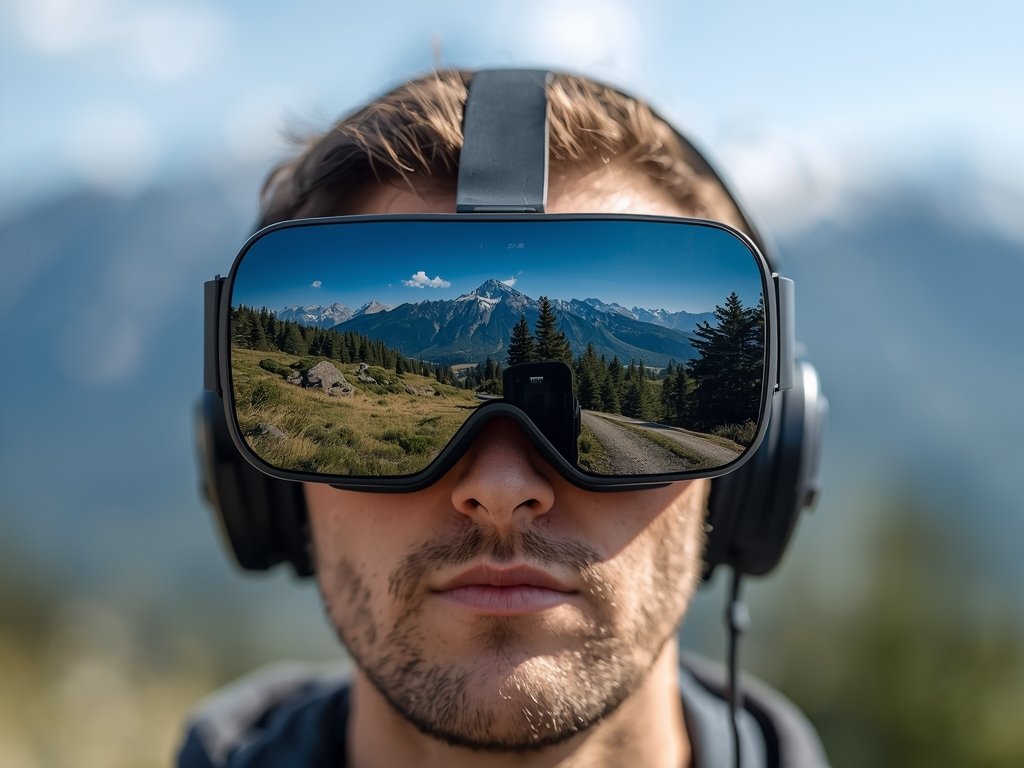
Goggles and Monitors: Your Window to the Skies
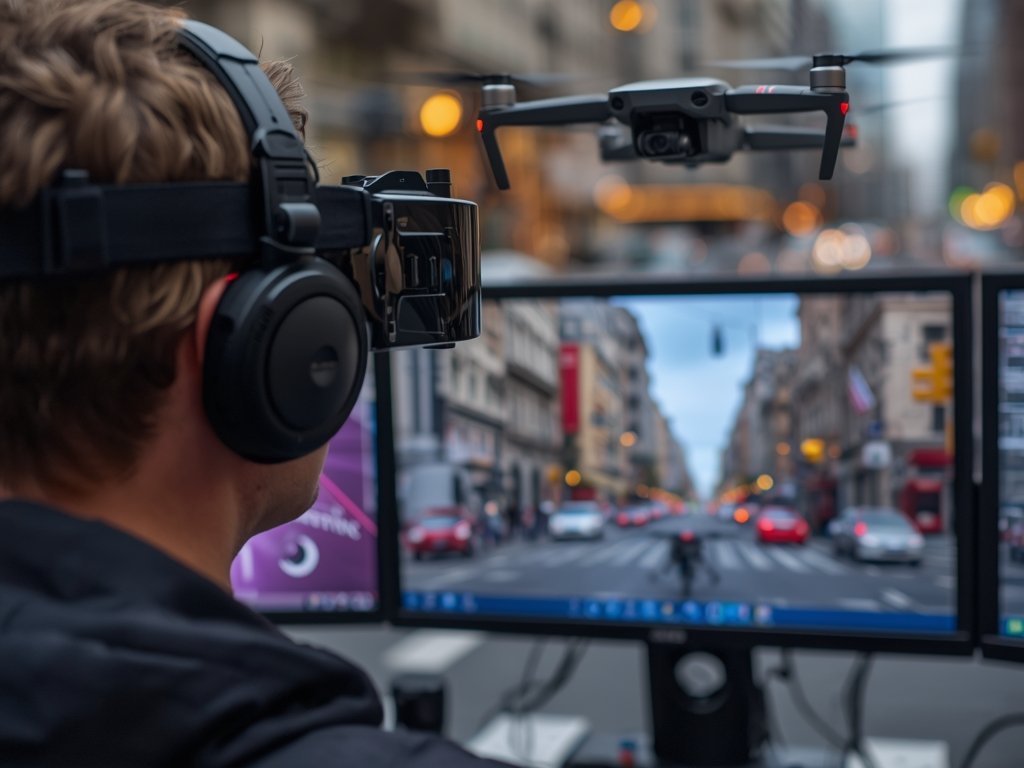
Your viewing device is just as important as the camera itself. Here’s what to look for:
Goggles vs. Monitors
Goggles offer an immersive experience, perfect for racing and freestyle. Monitors are great for casual flying or sharing the view with friends. If you’re flying in sunny Florida, opt for goggles with adjustable brightness and anti-glare coatings.
Display Quality and Comfort
Look for goggles with high-resolution displays and low latency. Comfort is also key—you’ll be wearing them for hours. Padded head straps and adjustable diopters ensure a snug fit, even during intense flights.
Putting It All Together: Assembly Tips
Now that you’ve got your gear, it’s time to assemble your setup. Follow these steps for a seamless installation:
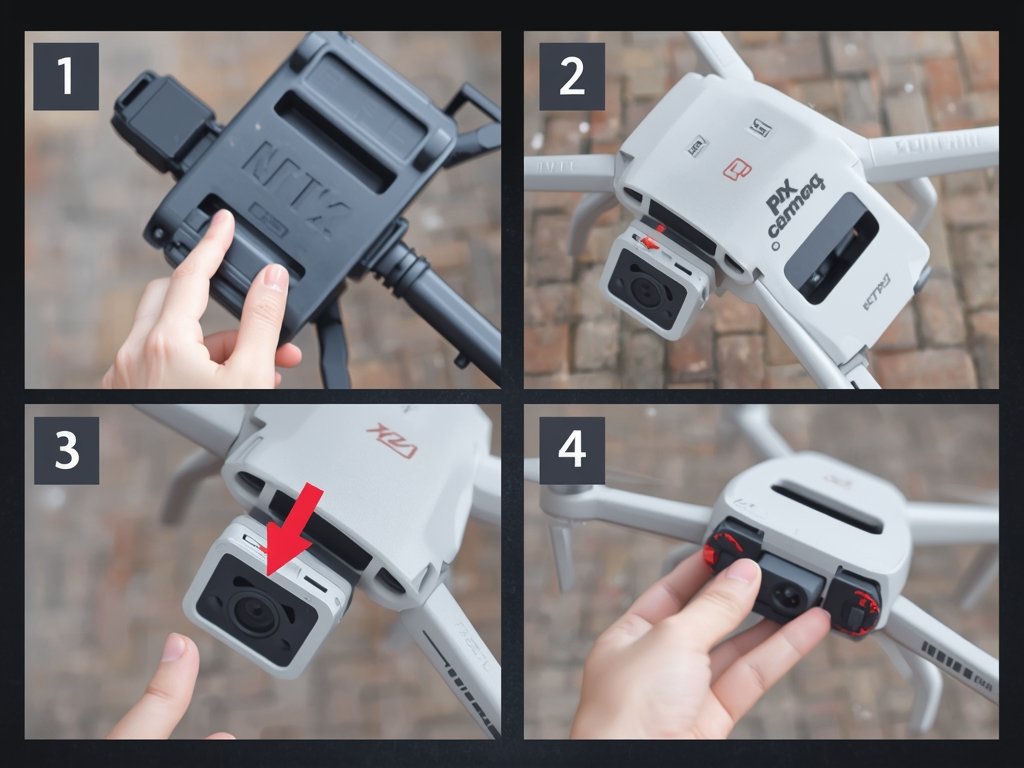
Mounting the Camera
Secure your camera to the drone using a vibration-dampening mount. This reduces jello effect and ensures smooth footage. Align the lens with the drone’s centerline for a balanced view.
Connecting the VTx and Antennas
Attach the VTx to your drone’s frame and connect it to the camera. Route the antennas away from carbon fiber and other signal-blocking materials. Use heat shrink tubing to protect connections and keep everything tidy.
Testing Your Setup
Before taking off, test your system on the ground. Check for signal interference, latency, and image quality. A quick test flight in your backyard or local park can save you from mid-air surprises.
FAQ
What’s the best camera for FPV racing?
For racing, prioritize low latency and a wide FOV. Cameras like the RunCam Racer Nano or Foxeer Predator Micro are popular choices among U.S. pilots.
Can I use my FPV setup for photography?
While FPV cameras are designed for live video, some models can capture decent stills. For high-quality photos, consider pairing your drone with a dedicated action camera like a GoPro.
How do I reduce video interference?
Use quality antennas, keep your VTx power within legal limits, and avoid flying near Wi-Fi routers or other signal sources. Flying in open areas like rural Texas can also minimize interference.
What’s the ideal battery setup for long flights?
For extended flights, use high-capacity LiPo batteries (1500mAh or higher). Always monitor voltage levels to avoid mid-air failures, especially during long-range flights over vast landscapes like the Great Plains.
Are FPV drones legal in the U.S.?
Yes, but you must follow FAA regulations. Register your drone if it weighs over 0.55 lbs, fly below 400 feet, and avoid restricted airspace. Always fly responsibly and respect privacy laws.
Join Our Pilot Community
Connect with fellow drone enthusiasts, share your aerial shots, and get access to free PDF ebook guides.