The Ultimate FPV Drone Build: A Step-by-Step Guide for Beginners
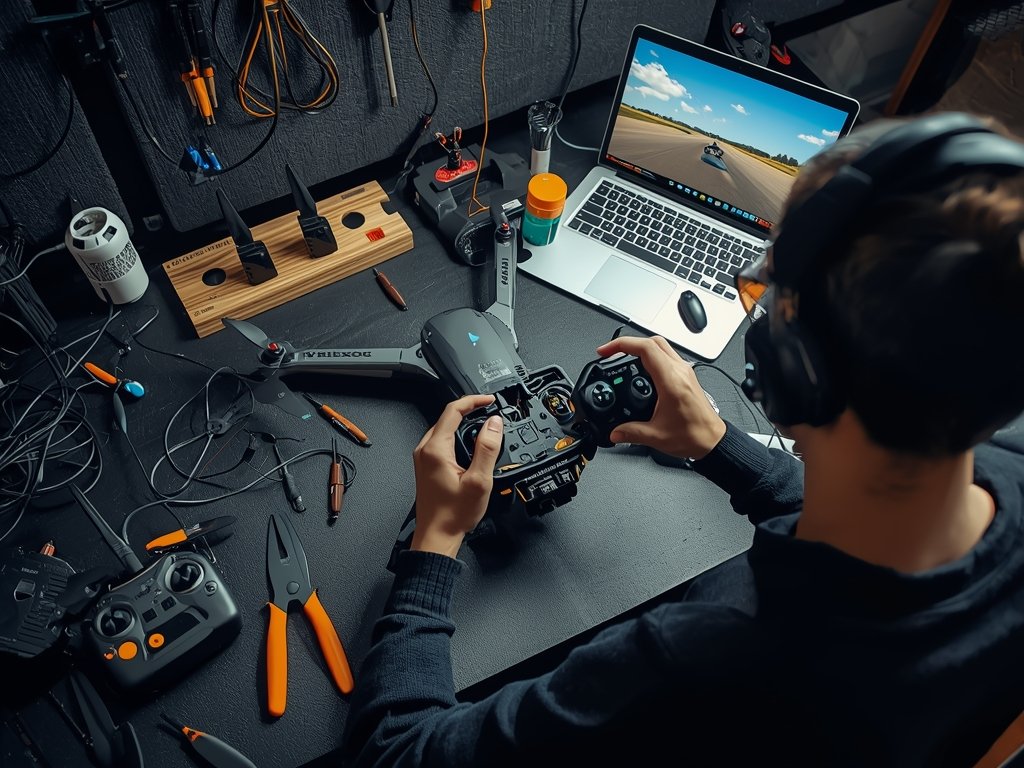
Building your own FPV drone is like crafting a high-tech, flying extension of yourself. It’s a thrilling journey that combines creativity, precision, and a dash of American ingenuity. Whether you’re in the bustling streets of New York or the wide-open skies of Texas, this guide will walk you through every step of creating your custom FPV drone.
Gathering Your Tools and Components
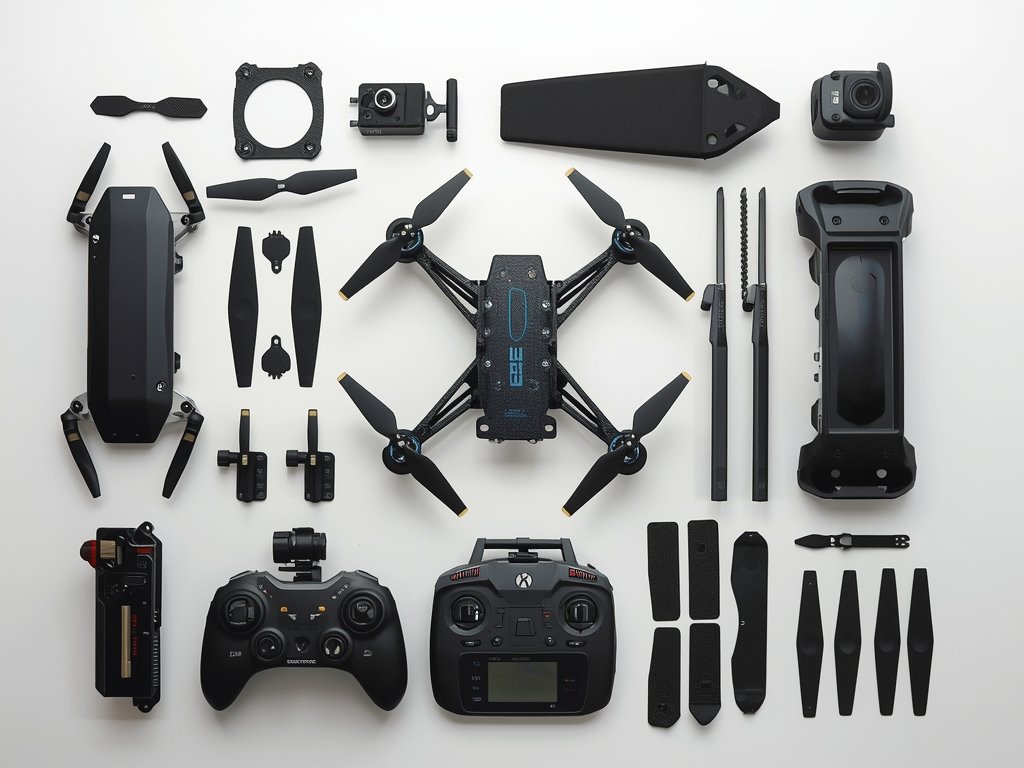
Before you dive into building, you’ll need the right tools and components. Think of this as your drone-building grocery list. Here’s what you’ll need:
- Frame: The backbone of your drone, choose one that suits your flying style.
- Motors and Props: These power your drone, so pick high-quality ones.
- Flight Controller: The brain of your drone, it processes all the data.
- FPV Camera: Your eyes in the sky, select one with a wide field of view.
- Video Transmitter: Sends live video to your goggles or monitor.
- Battery and Charger: Ensure compatibility and safety.
- Tools: Soldering iron, screwdrivers, and a multimeter are essential.
Assembling the Frame: The Foundation of Your Drone
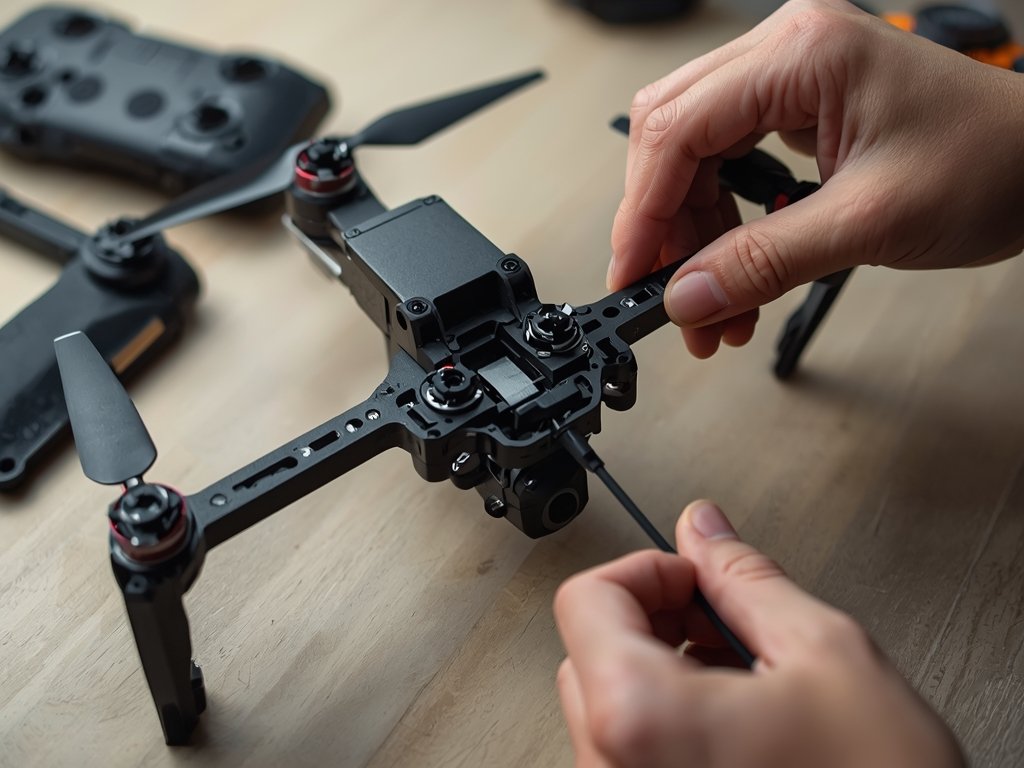
The frame is where your drone takes shape. Start by laying out all the parts and following these steps:
- Attach the Arms: Secure the arms to the main body using screws and locknuts.
- Mount the Flight Controller: Place it in the center, ensuring it’s level and secure.
- Add the PDB (Power Distribution Board): This will manage power distribution to all components.
Take your time here—a sturdy frame means a reliable drone.
Pro Tip: Customization is Key
Consider adding LED strips or a GoPro mount for that extra flair. It’s your drone, make it unique!
Wiring and Soldering: Bringing Your Drone to Life
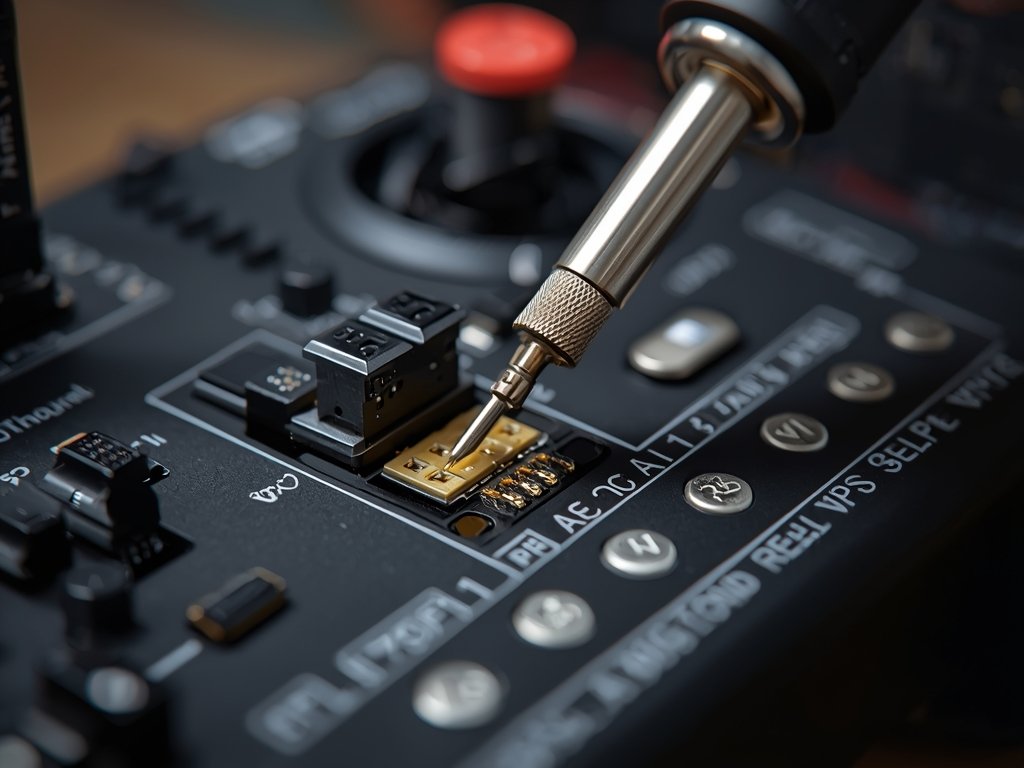
This is where your drone starts to come alive. Wiring can be intimidating, but with patience, you’ll master it:
- Connect the Motors: Solder the motor wires to the ESCs (Electronic Speed Controllers).
- Link the Flight Controller: Connect the ESCs, receiver, and other components to the flight controller.
- Test Your Work: Use a multimeter to check for continuity and ensure no shorts.
Safety first—always double-check your connections before powering up.
Setting Up the FPV System: Your Window to the Skies
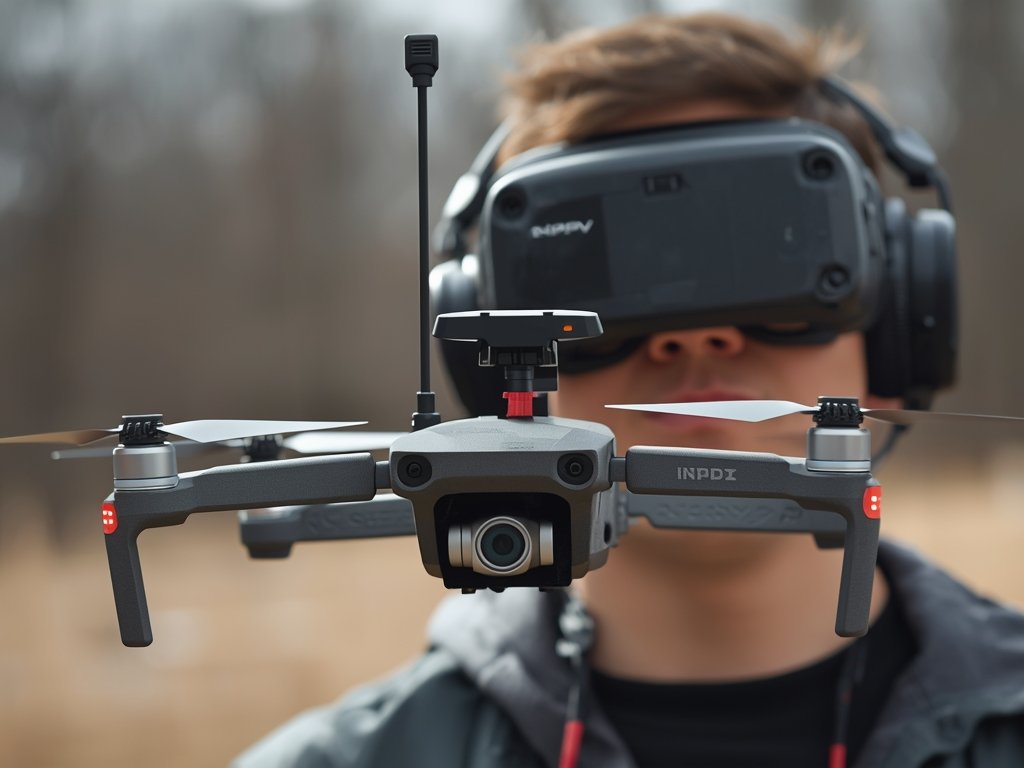
The FPV system is what makes drone racing and freestyle flying so immersive. Here’s how to set it up:
- Mount the Camera: Position it on the front of the drone, ensuring a clear view.
- Install the Video Transmitter: Connect it to the camera and power source.
- Attach Antennas: Use omnidirectional antennas for the best signal coverage.
Test your FPV system in a safe area to ensure clear video transmission.
Calibration and Testing: The Final Frontier

You’re almost there! Calibration ensures your drone flies smoothly and responds accurately:
- Calibrate the ESCs: Follow the manufacturer’s instructions for proper calibration.
- Configure the Flight Controller: Use software like Betaflight to set up your drone.
- Test Flight: Start with a hover test in an open area, gradually increasing altitude and speed.
Celebrate your first flight—you’ve just built your own FPV drone!
FAQ: Answering Your Burning Questions
What’s the best frame for a beginner FPV drone?
For beginners, a durable, lightweight frame like the iFlight CineBee or the Diatone Roma is ideal. They’re easy to assemble and can handle crashes.
How do I choose the right motors and props?
Match your motors and props to your drone’s size and weight. For a 5-inch drone, 2205 or 2306 motors with 5-inch props are a great starting point.
Can I use any FPV camera for my build?
While many cameras work, go for one with a wide field of view (FOV) and low latency, like the RunCam Micro Swift or Caddx Turtle.
What’s the most common mistake in drone building?
Rushing the wiring and soldering. Take your time, double-check connections, and test each component before powering up.
How do I ensure my drone is safe to fly?
Always perform a pre-flight checklist: check battery voltage, tighten screws, and ensure all components are secure. Fly in open areas away from people and property.
Your definitive resource for drone technology. From expert reviews of the latest DJI models to professional Part 107 flight training and industry regulations