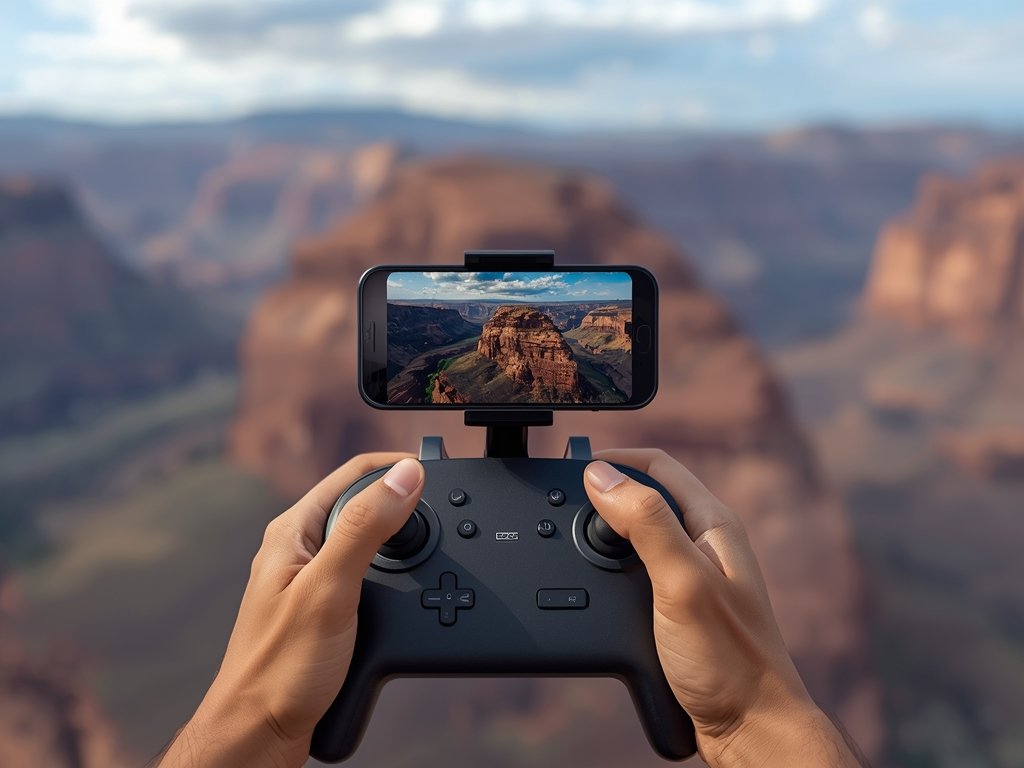
Drone cinematography has transformed the way we capture the world, offering breathtaking perspectives once reserved for big-budget Hollywood productions. As we approach 2026, the demand for high-quality, cinematic drone footage continues to soar. Whether you’re an aspiring filmmaker or a seasoned professional, mastering the art of cinematic drone settings is essential to achieving that coveted movie look.
Understanding the Cinematic Look: Breaking Down the Visual Elements
The cinematic look is more than just stunning visuals; it’s a combination of technical precision and artistic vision. To achieve this, you need to understand the key elements that define cinematic footage: composition, lighting, color grading, and motion. Each of these components plays a crucial role in creating a visually compelling narrative.
Composition: Framing the Perfect Shot
Composition is the foundation of any great shot. When using a drone, consider the rule of thirds, leading lines, and symmetry to create visually appealing frames. Incorporate natural elements like rivers, roads, or shorelines to guide the viewer’s eye through the scene. For example, capturing the winding roads of the Pacific Coast Highway can add depth and movement to your footage.
Lighting: Harnessing Natural and Artificial Light
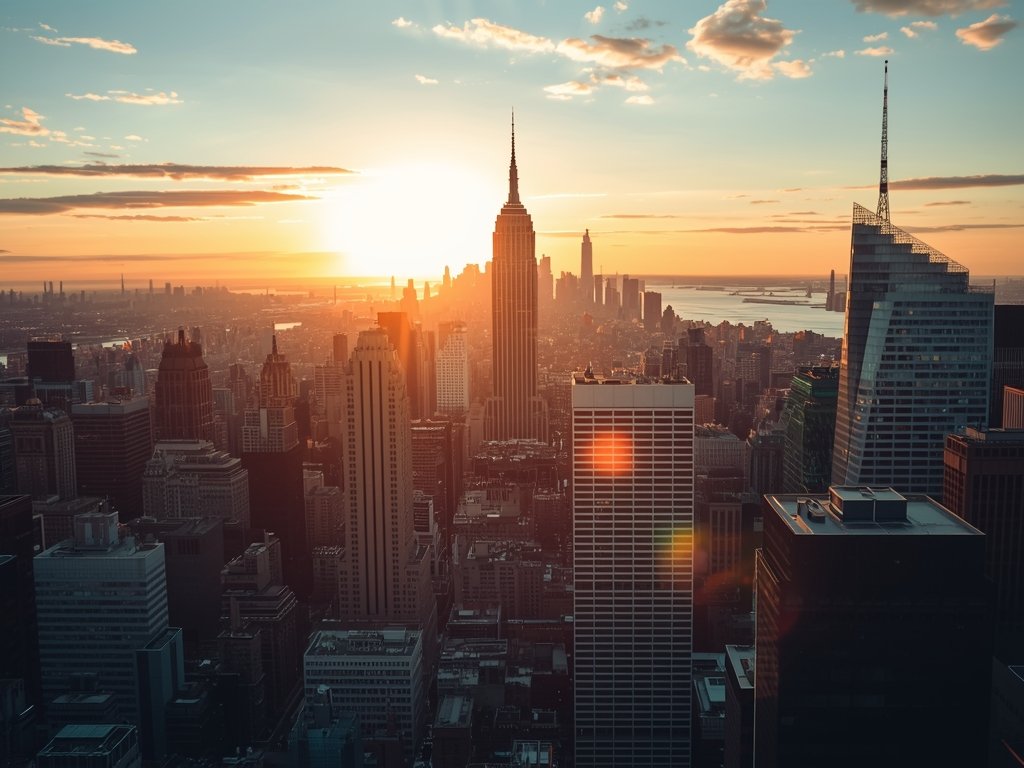
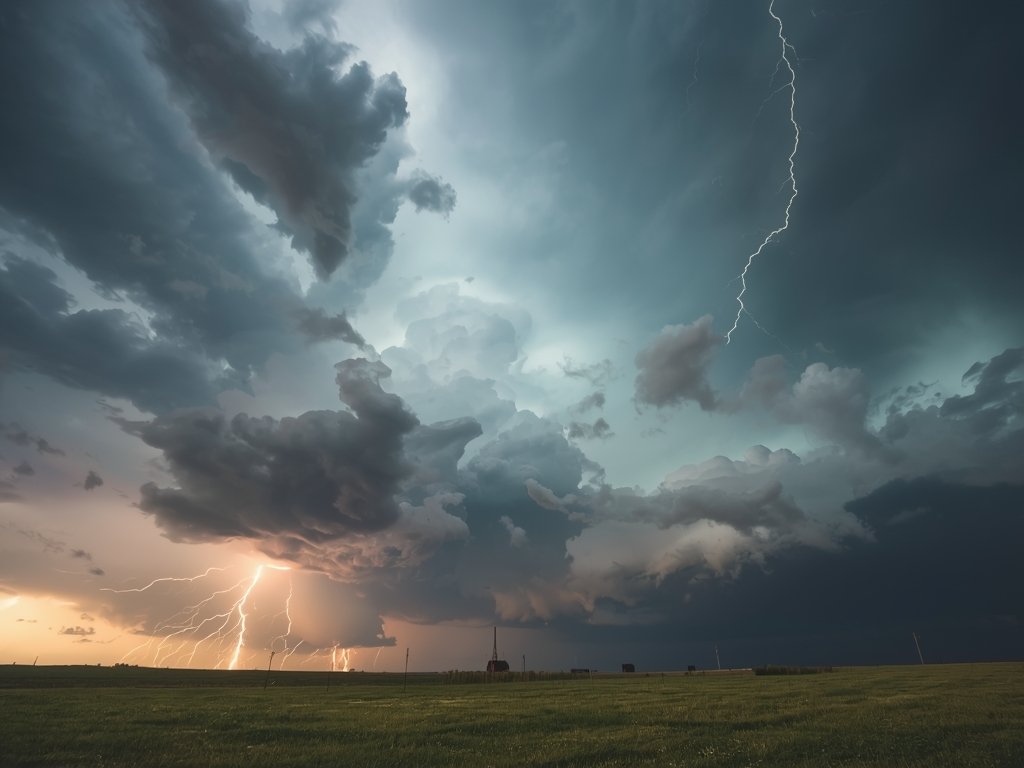
Lighting can make or break a shot. The golden hour, just after sunrise or before sunset, provides warm, soft light that enhances textures and shadows. If shooting in urban areas like Los Angeles or New York, use the city’s artificial lighting to create dramatic contrasts. Experiment with backlighting to silhouette subjects or side lighting to emphasize depth.
Color Grading: Setting the Mood
Color grading is where your footage truly comes to life. Aim for a natural yet stylized look by adjusting contrast, saturation, and hue. For a cinematic feel, consider using LUTs (Look-Up Tables) inspired by popular films. A cool, desaturated palette can evoke a futuristic vibe, while warm tones can create a nostalgic atmosphere reminiscent of classic American cinema.
Motion: Smooth and Intentional Camera Movement
Smooth, intentional movement is a hallmark of cinematic drone footage. Use slow, deliberate panning and tracking shots to draw viewers into the scene. Avoid abrupt movements that can distract from the narrative. For dynamic shots, experiment with orbital movements or fly-throughs, such as capturing the sprawling landscapes of the American Southwest.
Essential Drone Settings for Cinematic Footage
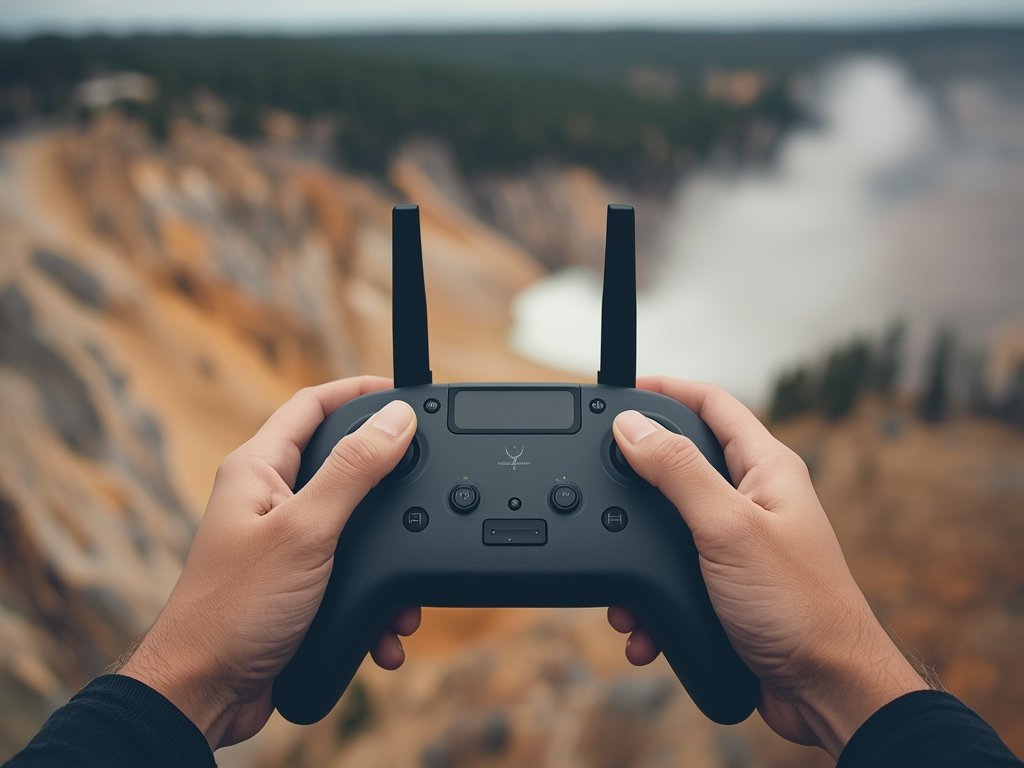
To achieve the cinematic look, you need to optimize your drone’s settings. Here’s a breakdown of the most critical adjustments to make:
Resolution and Frame Rate: The Foundation of Quality
Shoot in the highest resolution possible, typically 4K or higher, to ensure clarity and detail. For smooth, cinematic motion, aim for a frame rate of 24 or 25 fps, which mimics the look of traditional film. If you’re shooting action sequences, consider 60 fps for slow-motion effects.
Shutter Speed: Balancing Motion and Clarity
The shutter speed should be double your frame rate to achieve the desired motion blur. For example, at 24 fps, set your shutter speed to 1/50. This creates a natural, filmic look while maintaining sharpness. Adjust based on lighting conditions to avoid overexposure or underexposure.
Aperture and ISO: Controlling Exposure and Depth
Use a narrow aperture (higher f-stop) to maximize depth of field, keeping more of the scene in focus. Keep your ISO as low as possible to minimize noise, especially in low-light conditions. For instance, shooting the neon-lit streets of Las Vegas at night requires careful balancing of these settings.
White Balance: Ensuring Accurate Colors
Set your white balance to match the lighting conditions. For outdoor shoots, use daylight or cloudy presets. For indoor or mixed lighting, manual white balance ensures consistent color accuracy. This is particularly important when capturing diverse environments like the vibrant markets of New Orleans or the snowy peaks of Colorado.
Advanced Techniques: Taking Your Footage to the Next Level
Once you’ve mastered the basics, it’s time to explore advanced techniques that will elevate your footage even further.
ND Filters: Controlling Light and Motion
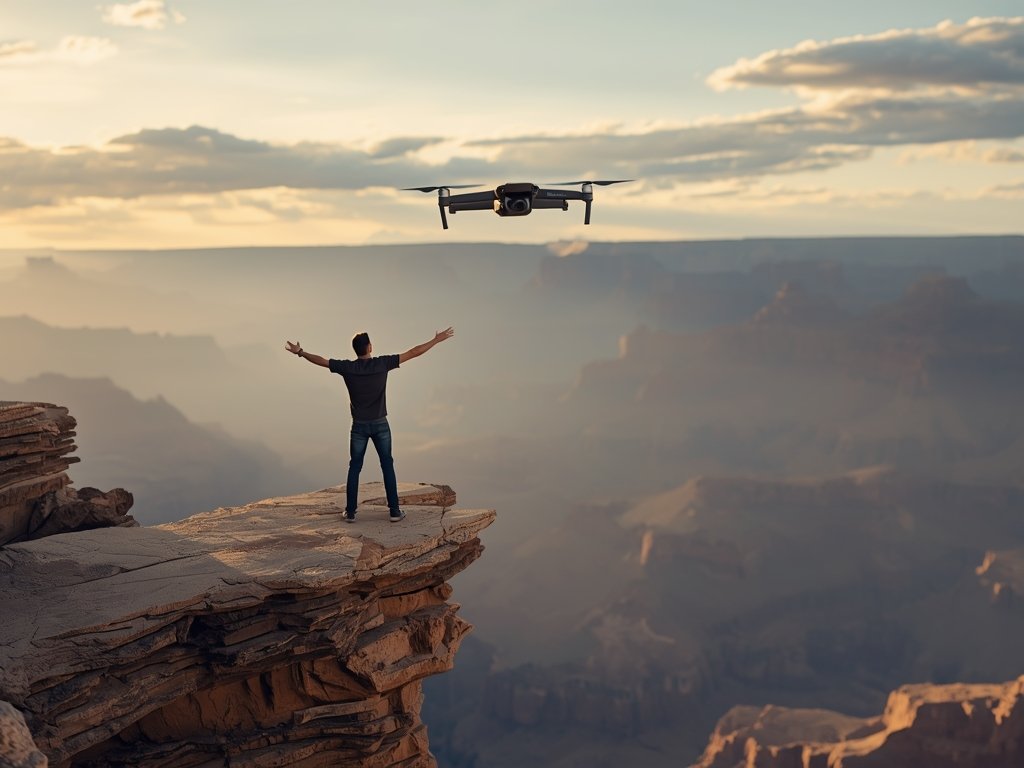
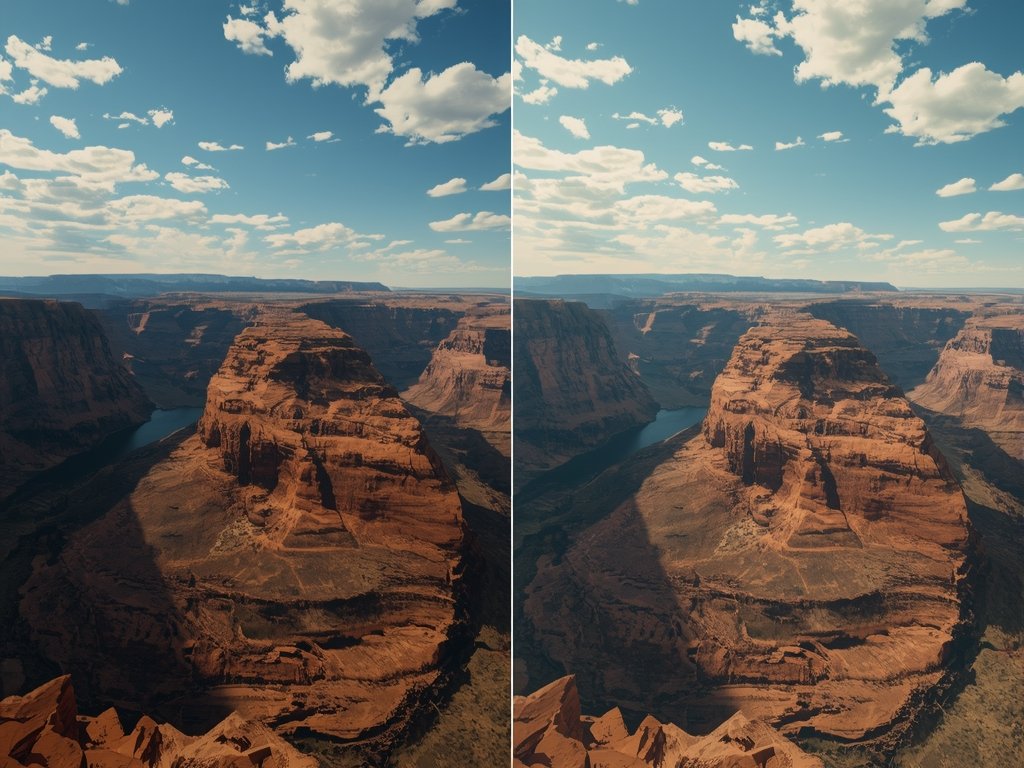
Neutral density (ND) filters reduce the amount of light entering the lens, allowing you to maintain a wide aperture and slow shutter speed in bright conditions. This is essential for achieving smooth motion blur in daylight. Use ND filters when shooting sunny landscapes like the Grand Canyon or beaches in Florida.
Focus Pulling: Adding Depth and Drama
Focus pulling involves shifting focus from one subject to another during a shot, adding depth and visual interest. Practice this technique to highlight specific elements in your scene, such as shifting focus from a foreground subject to a distant mountain range in the Rocky Mountains.
Time-Lapse and Hyperlapse: Capturing the Passage of Time
Time-lapse and hyperlapse techniques can transform ordinary scenes into captivating sequences. Use time-lapse to capture the movement of clouds or the changing colors of a sunset. Hyperlapse, which involves moving the drone during the shot, is perfect for showcasing the bustling streets of Chicago or the expansive highways of Texas.
Post-Production: The Final Touches for Cinematic Excellence

Post-production is where your footage truly comes together. Here’s how to refine your work for a professional finish.
Editing: Crafting a Compelling Narrative
Choose a non-linear editing software like Adobe Premiere Pro or Final Cut Pro to assemble your footage. Focus on pacing and flow, using cuts and transitions to guide the viewer’s attention. Incorporate music and sound effects to enhance the emotional impact, whether it’s the serene ambiance of a forest or the energetic vibe of a cityscape.
Color Correction and Grading: Perfecting the Look
Color correction ensures consistency across your footage, while color grading adds the final stylistic touch. Use tools like DaVinci Resolve to fine-tune your shots. Experiment with different looks, from the gritty realism of a crime drama to the vibrant aesthetics of a summer blockbuster.
Stabilization and Effects: Polishing Your Footage
Even the smoothest drone shots can benefit from stabilization in post-production. Use software tools to remove any remaining jgy jitter jitter jitterany jittery residual jitterd vibrationsdanyganydanydanyd
Join Our Pilot Community
Connect with fellow drone enthusiasts, share your aerial shots, and get access to free PDF ebook guides.